Note: This is an advanced integration. Familiarity with Microsoft Ads
conversion tracking and lead attribution is required.
Prerequisites
- A Microsoft Ads account
- An Octanist Serious Business package
Table of Contents
- Setting Up in Octanist
- Creating a Conversion Goal in Microsoft Ads
- Scheduling Offline Conversion Uploads
1. Setting Up in Octanist
- Go to octanist.com and navigate to General > Manage Conversion Names.
- Under Manage Conversion Names, add clear and concise conversion names. For example: Converted Lead - Octanist.
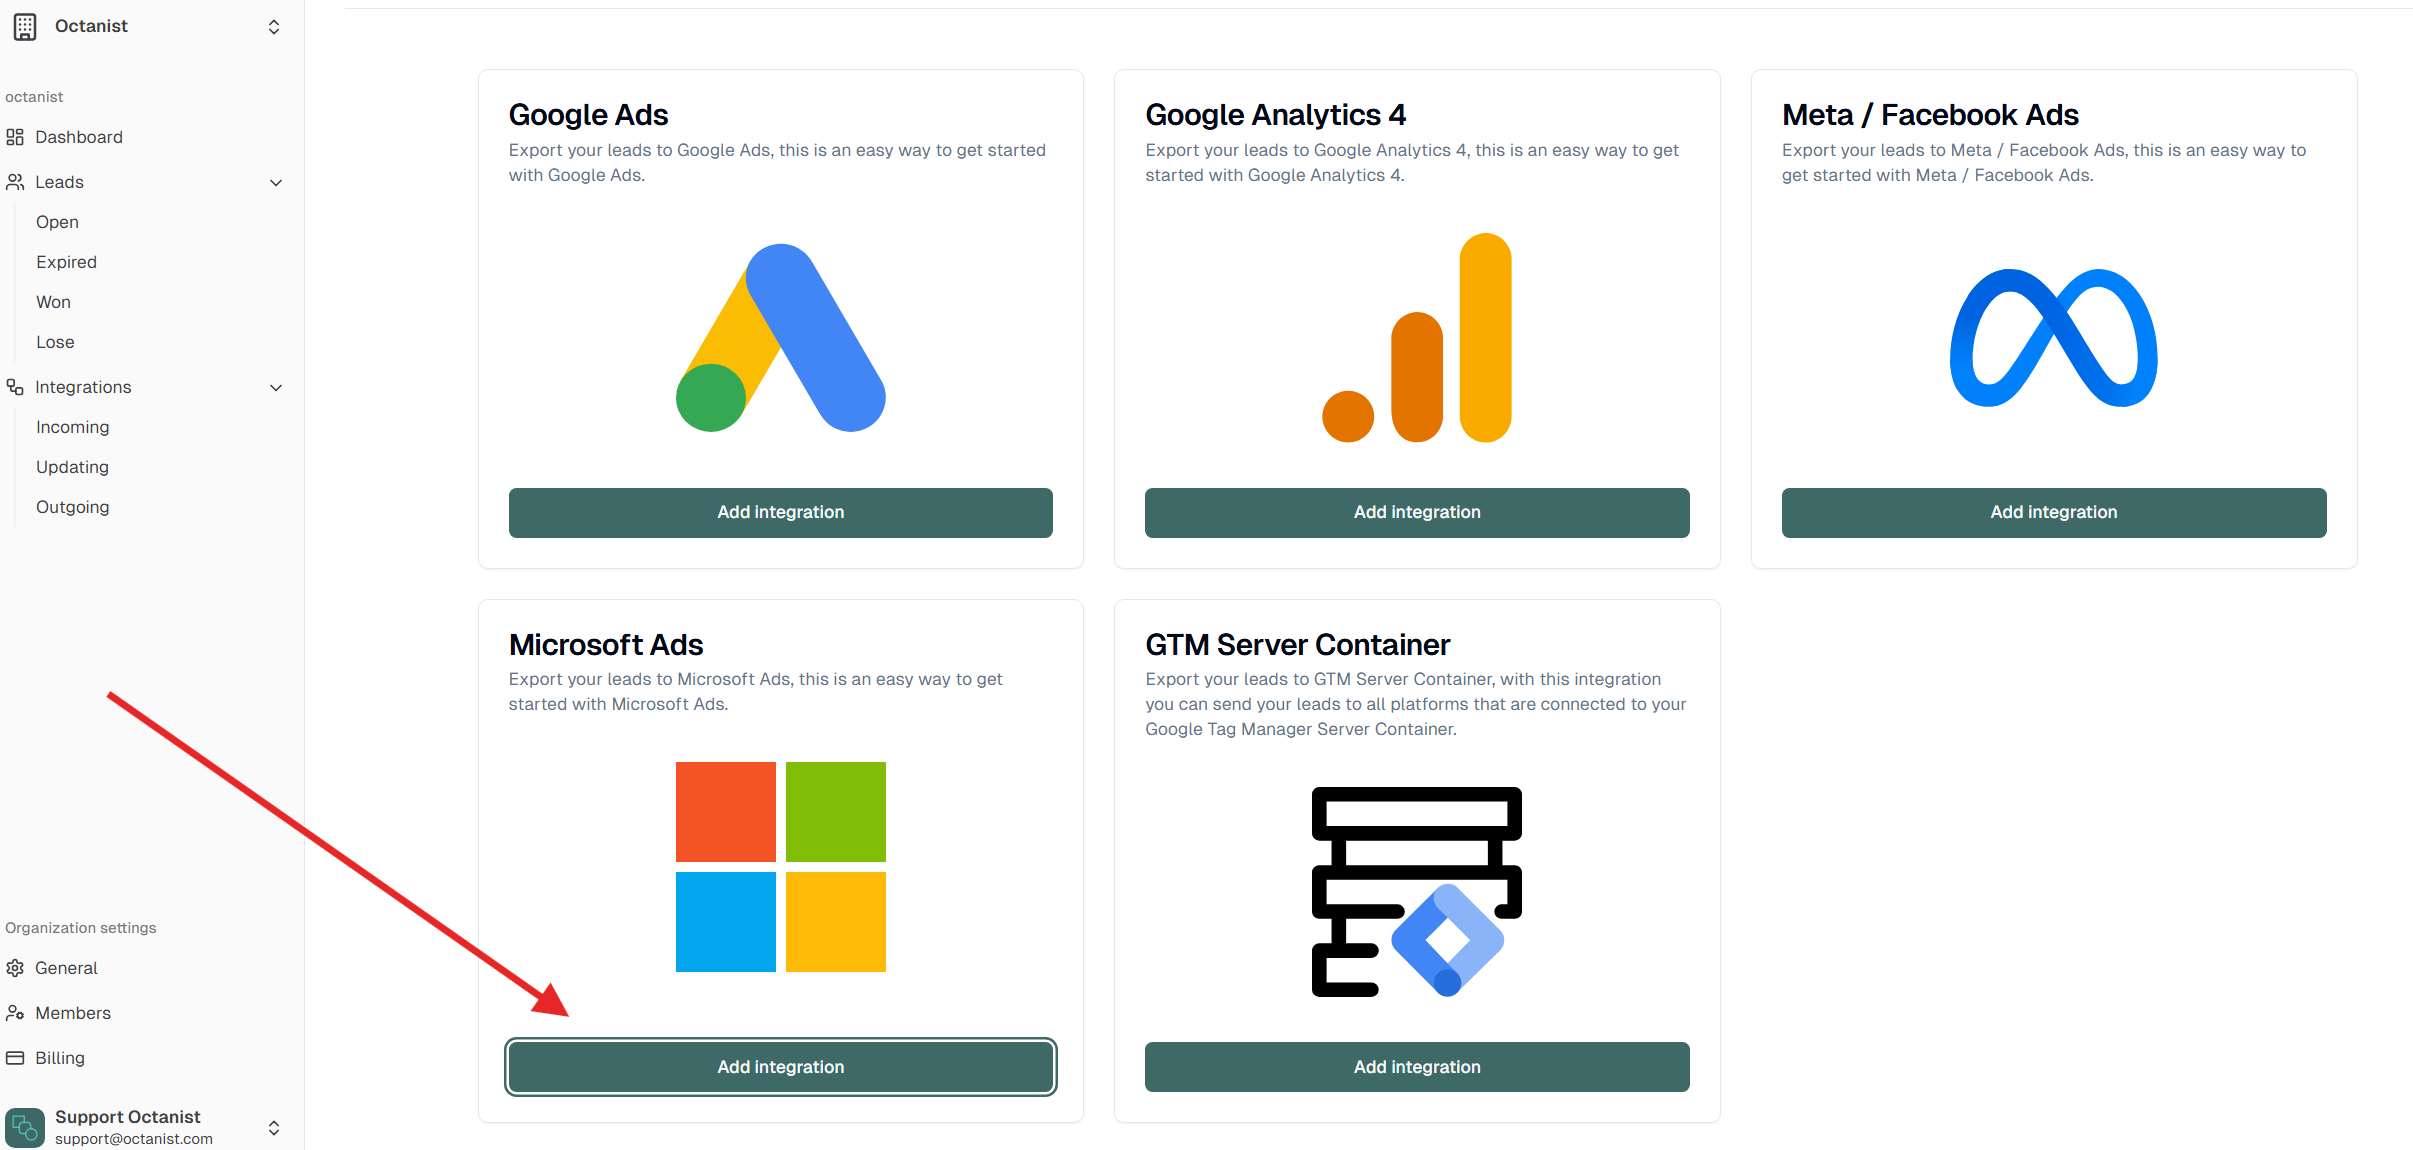
- Go to Integrations > Outgoing.
- Select Microsoft Ads.
- Name your integration clearly, such as: Company Name - Octanist - Microsoft Ads.
- Once saved, you’ll receive a unique URL — copy and save this, as you’ll need it when setting up the upload in Microsoft Ads.

2. Creating a Conversion Goal in Microsoft Ads
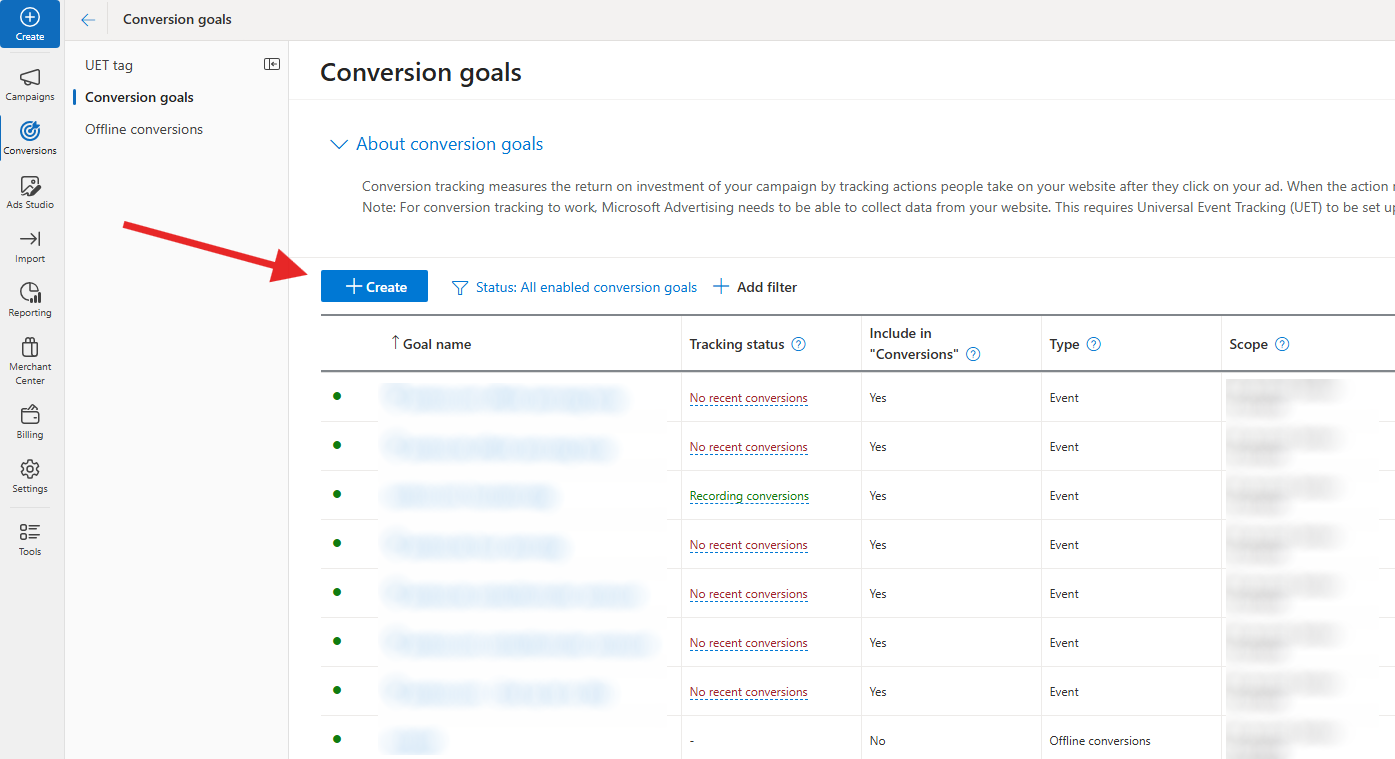
Once your outgoing integration is created in Octanist, switch to your Microsoft Ads account.- Navigate to Tools > Conversion Tracking, then select + Conversion Goal.
- Choose the following options:
- Conversion Goal Type: Offline
- Goal Category: Submit Lead Forms
- Name: Use the exact same name as in Octanist (e.g., Converted Lead - Octanist)
- Under Revenue, set your Conversion Action Value (e.g., 1 EUR or your preferred value).
- Under Advanced Settings, set:
- Include in Conversions? → No
We recommend not including the goal in conversions initially. Activate this
once you’ve collected at least 30 converted leads for better optimization.
- Under Enhanced Conversions, select Disable (you can enable this later if desired).

3. Scheduling Offline Conversion Uploads
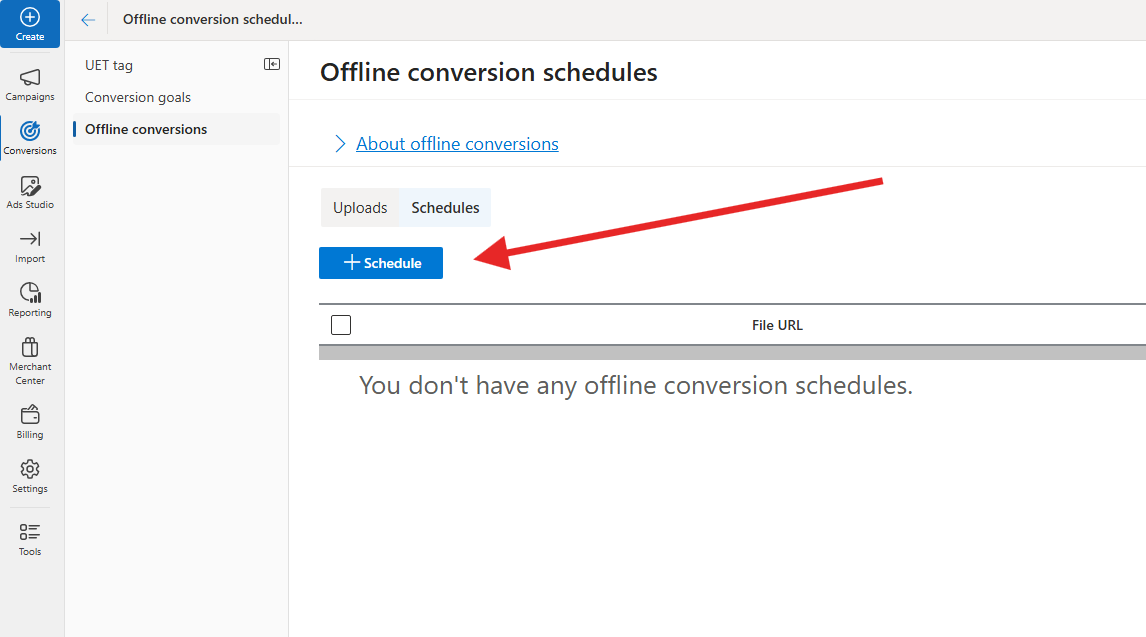
After creating the conversion goal, you’re ready to schedule automatic uploads of converted leads.- In your Microsoft Ads account, navigate to Tools > Conversion Tracking > Offline Conversions.

- Click Schedule to automate data uploads.
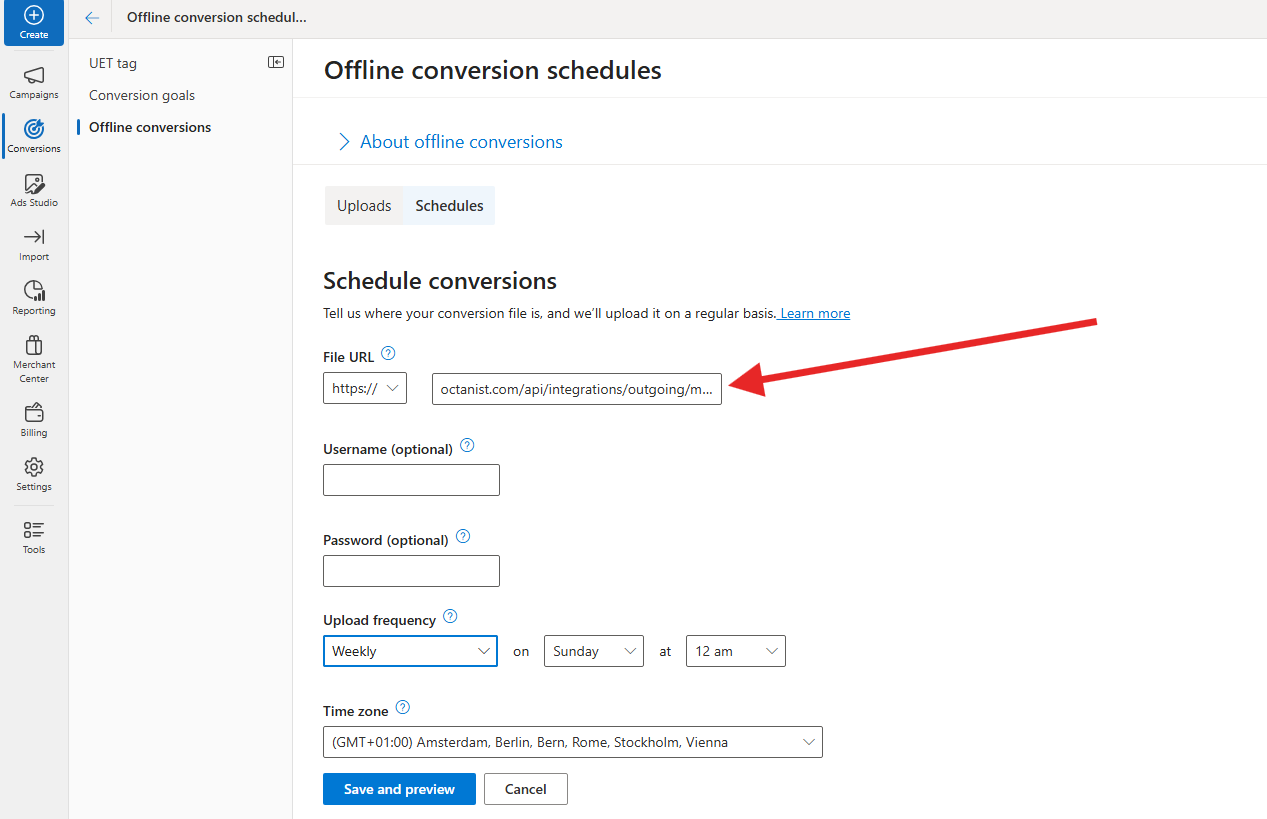
- Paste the unique URL provided by Octanist.
- Choose your upload frequency (we recommend daily or weekly).
- Click Save and Preview to validate the setup.
Scheduling uploads ensures that Octanist leads are regularly synced with
Microsoft Ads without manual intervention.

You’ve now completed the Microsoft Ads integration with Octanist! Your converted leads will be automatically uploaded using the Microsoft Click ID and matched as offline conversions.