- Send leads to Octanist
- Qualify leads based on Zapier triggers
- Receive (qualified) leads from Octanist and pass them to your own databases, CRMs, or channels
Table of Contents
Setup Video
Coming soon.1. Octanist
- Go to octanist.com and navigate to Integrations.
- Click Zapier.
2. Zapier
Send Leads to Octanist
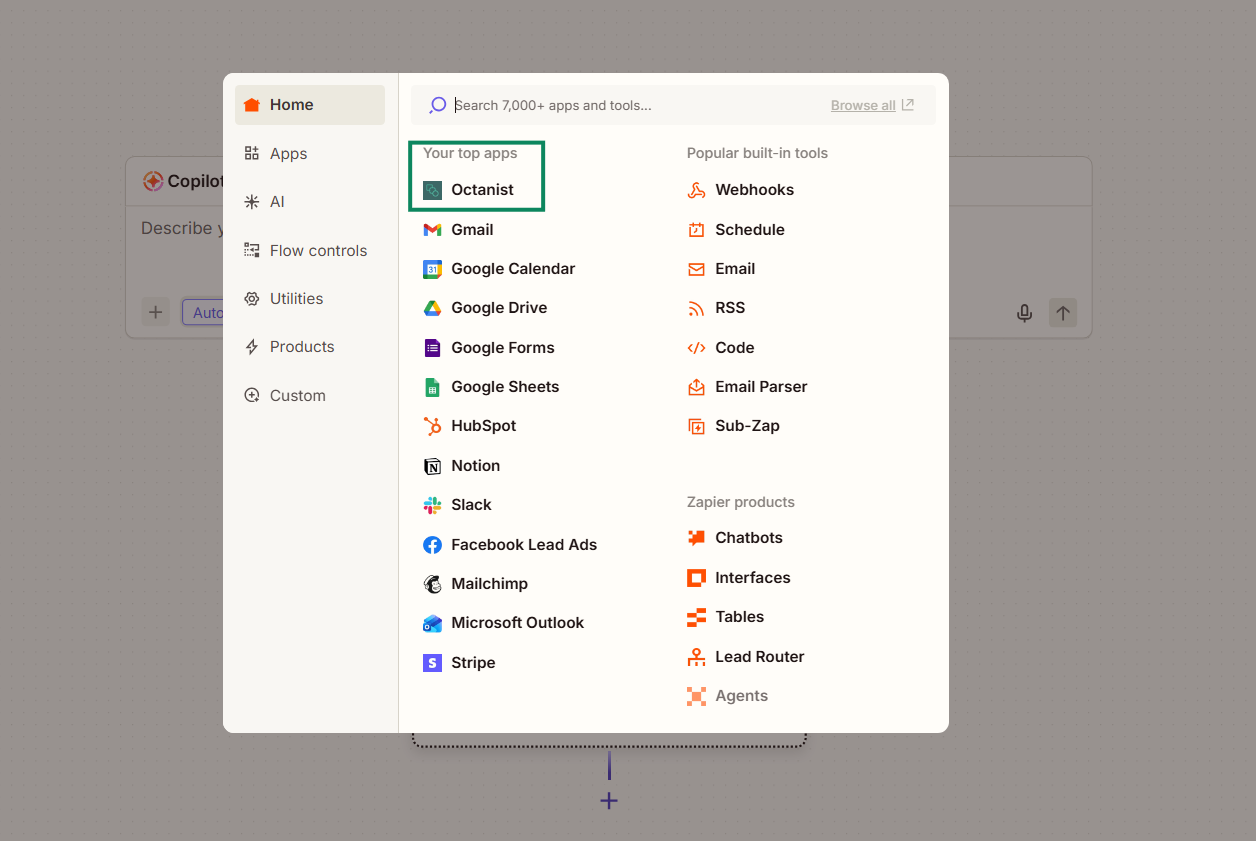
To send leads to Octanist using Zapier:- Create a new Zap and start with a trigger (e.g., an incoming email in Gmail).
- Add Octanist as your next step.
-
Select the action event: Create Lead.
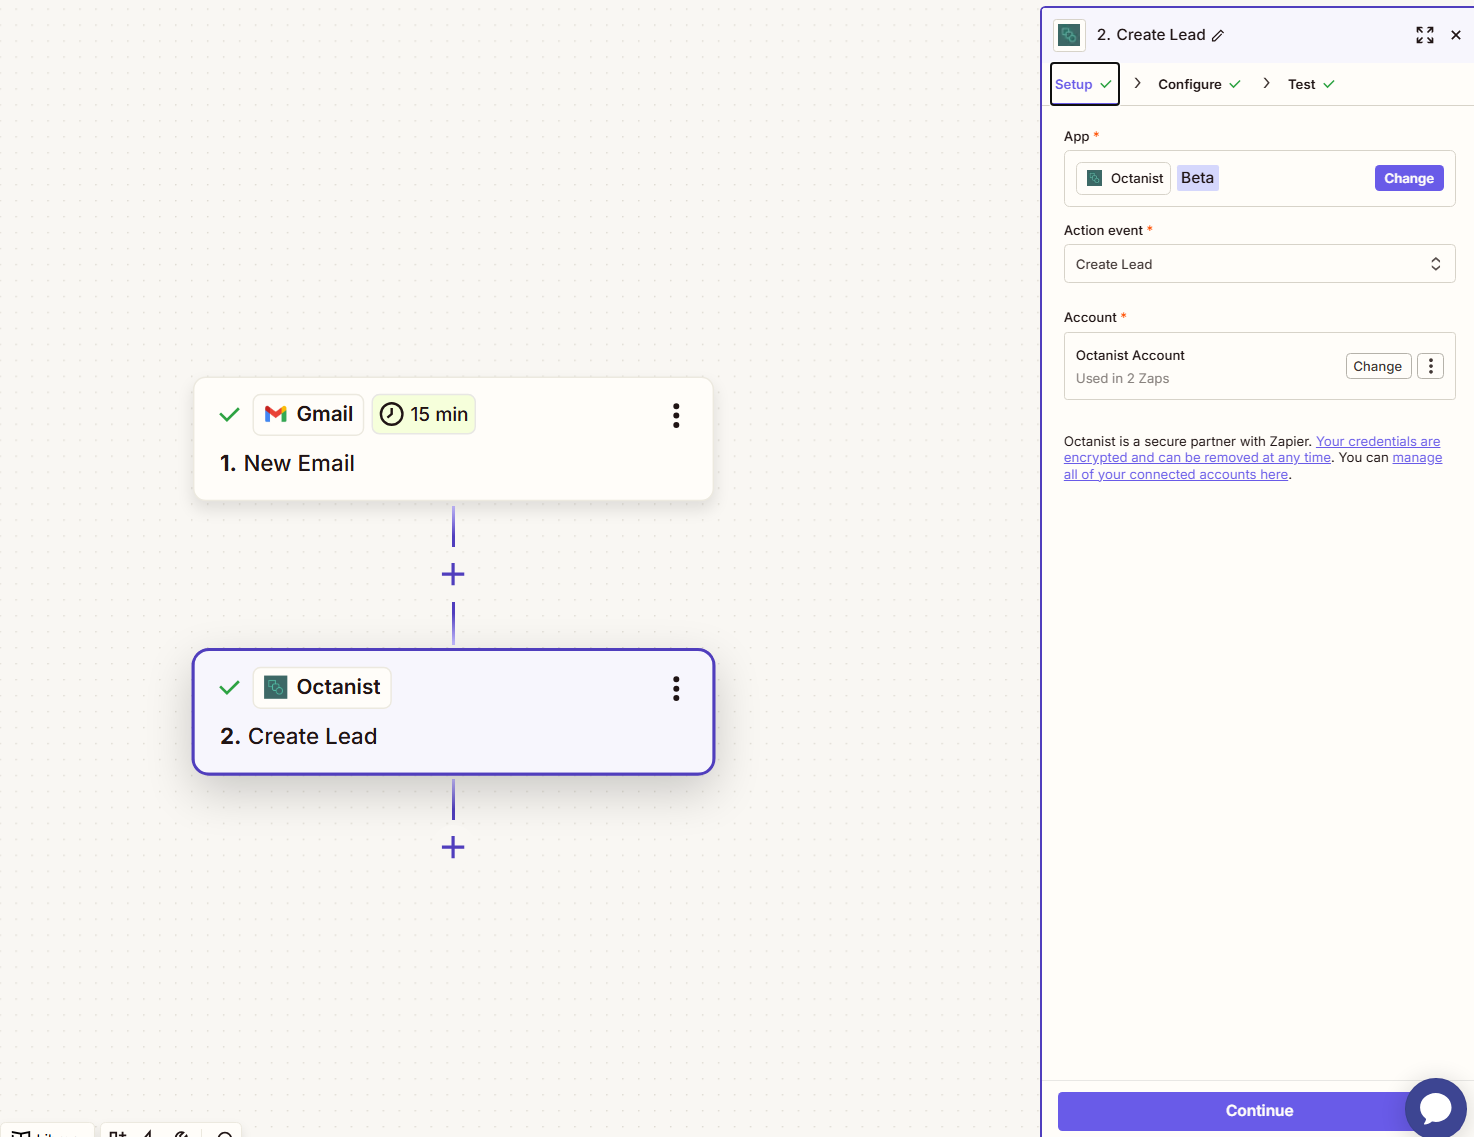
-
Under Account, connect your Octanist account.
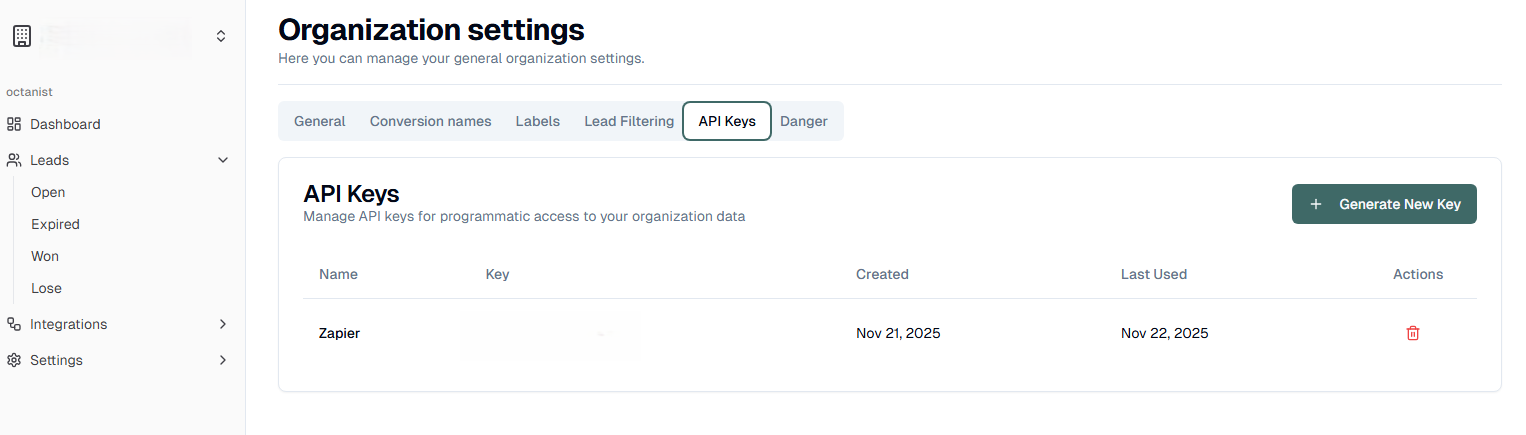
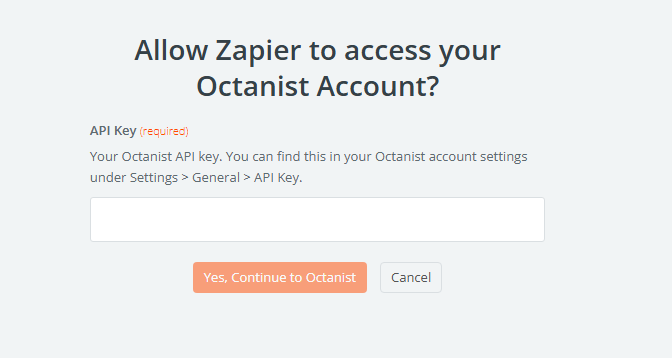
You will be prompted to enter your API key.- You can find this in Octanist → Settings → General → API Key.
-
Create a new API key and give it a clear and descriptive name.
-
Return to Zapier and paste the API key.
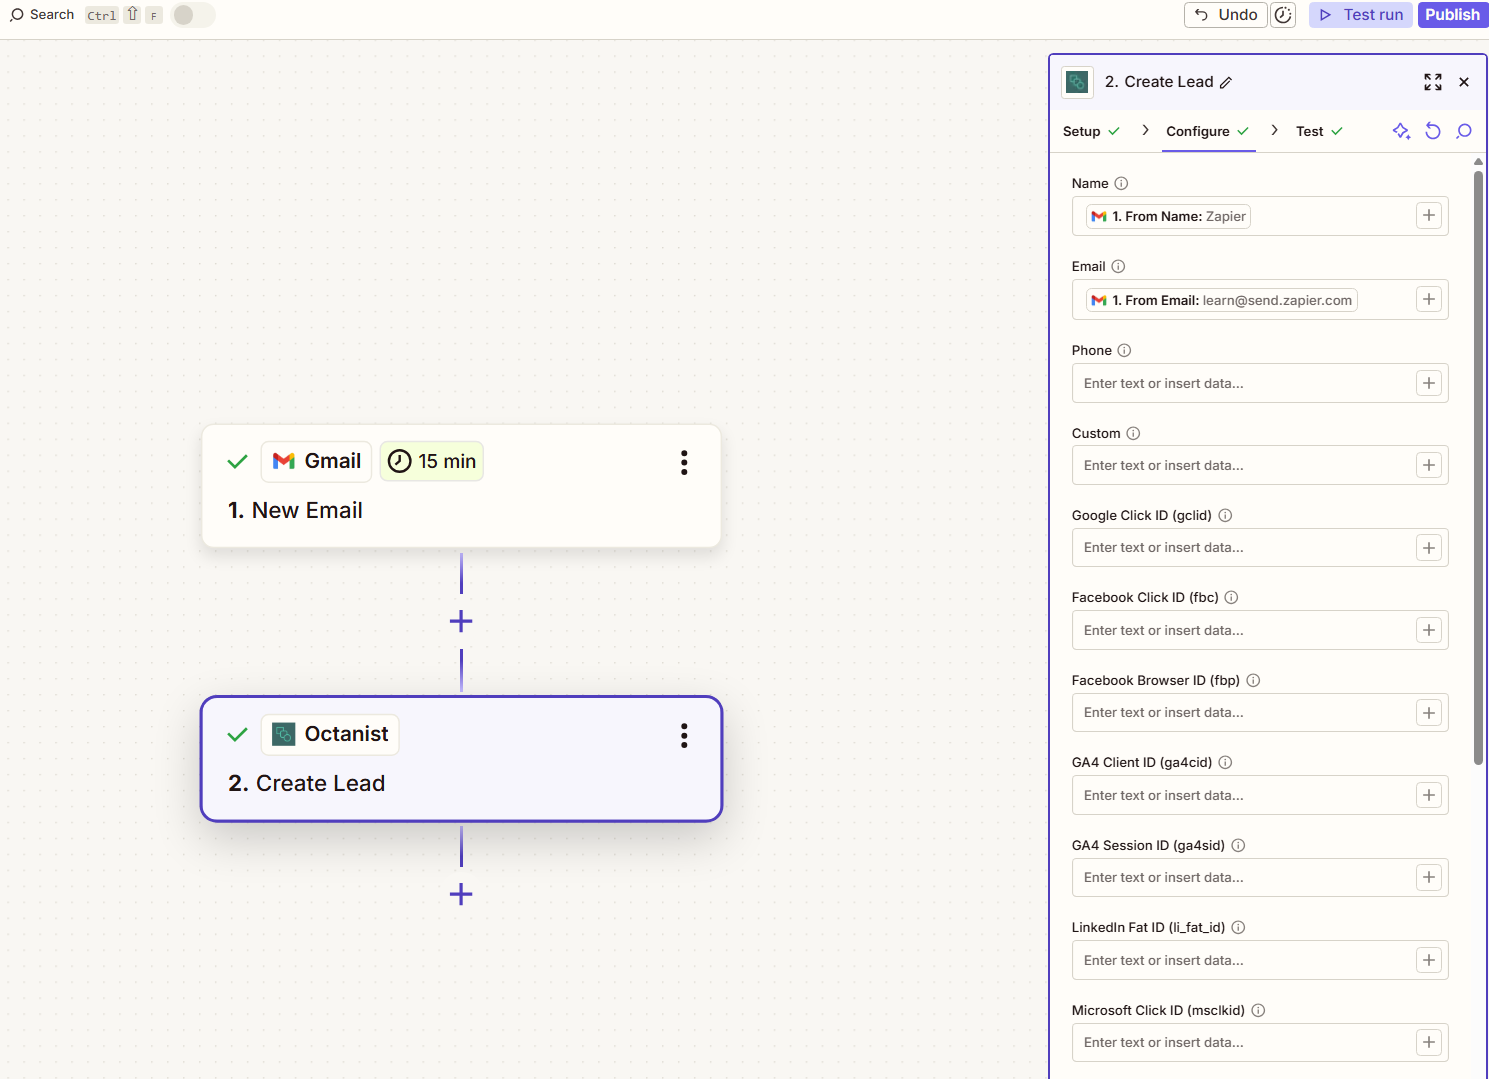
You can insert values easily by typing
/ to search for the Zapier variables.
Example:If your trigger is “New Gmail Email,” you might map the Gmail From Name into the Octanist Name field. We also recommend adding UTM parameters to ensure proper source attribution.
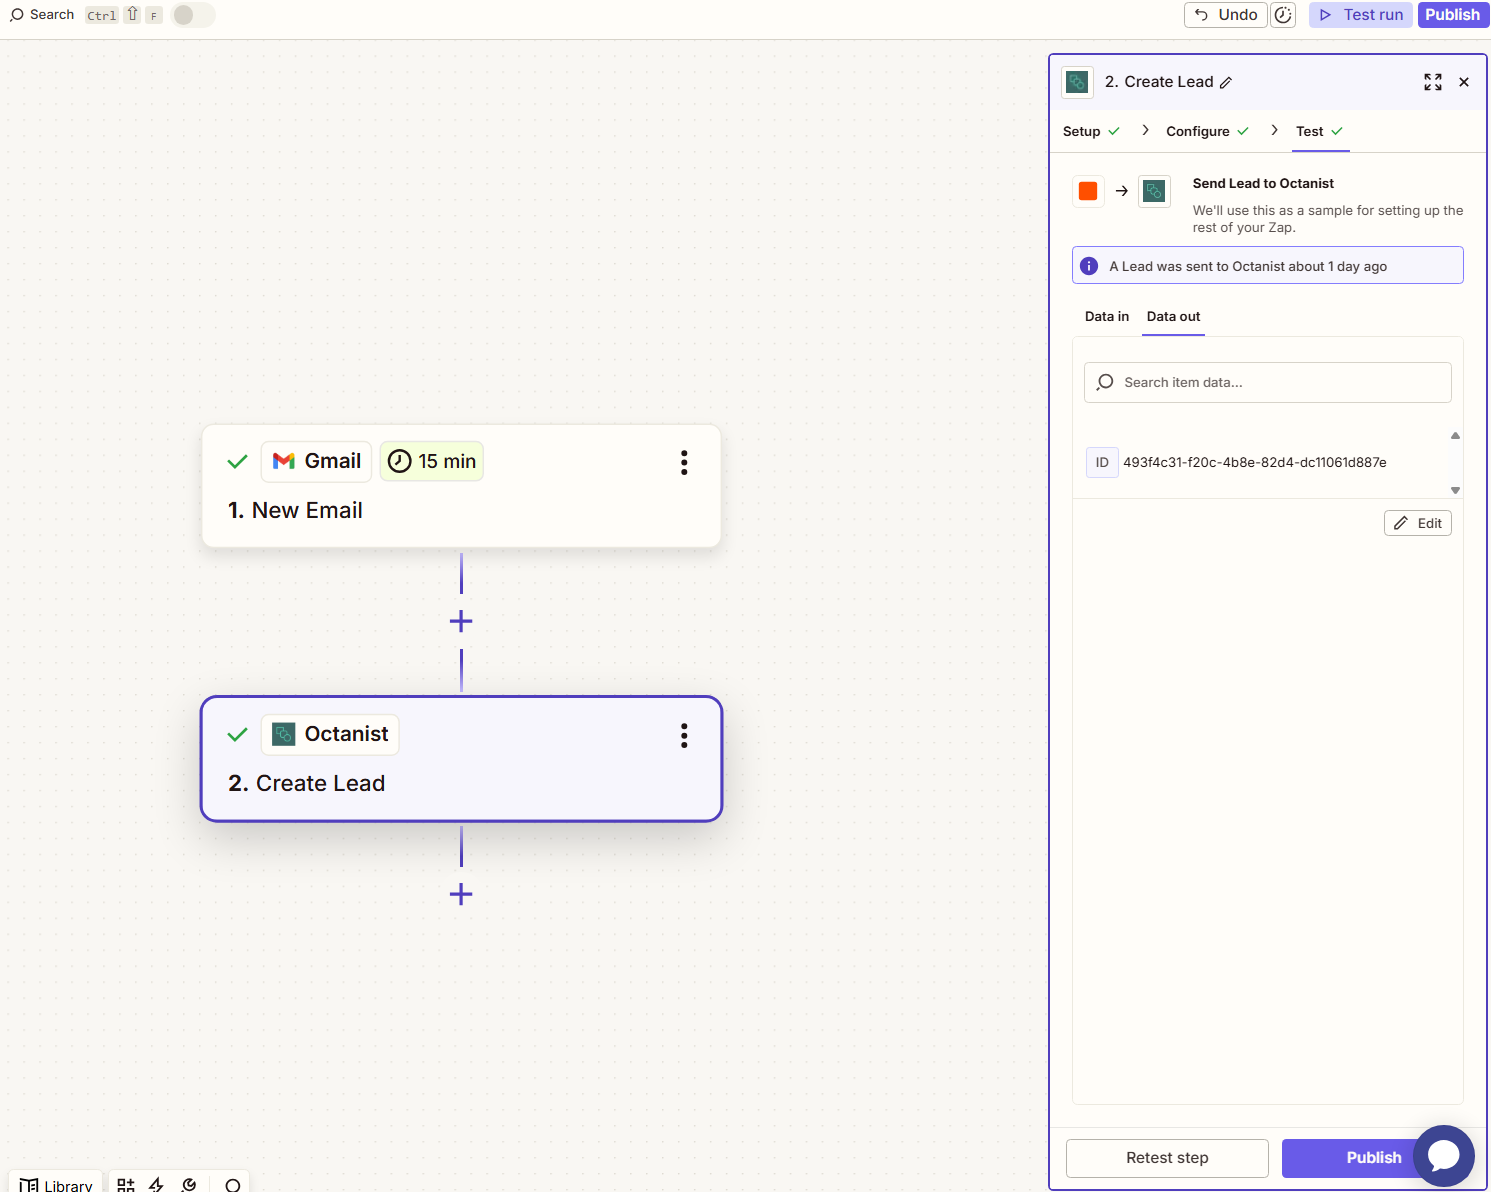
Testing the Lead
After configuring your fields:- Go to the Test tab in Zapier.
- Run the test to send a lead to Octanist.
- Check Octanist to confirm that your lead was received correctly.
- An email address is present
- A phone number is present (if available)
- A name is present
- Custom fields and UTM values are correctly included
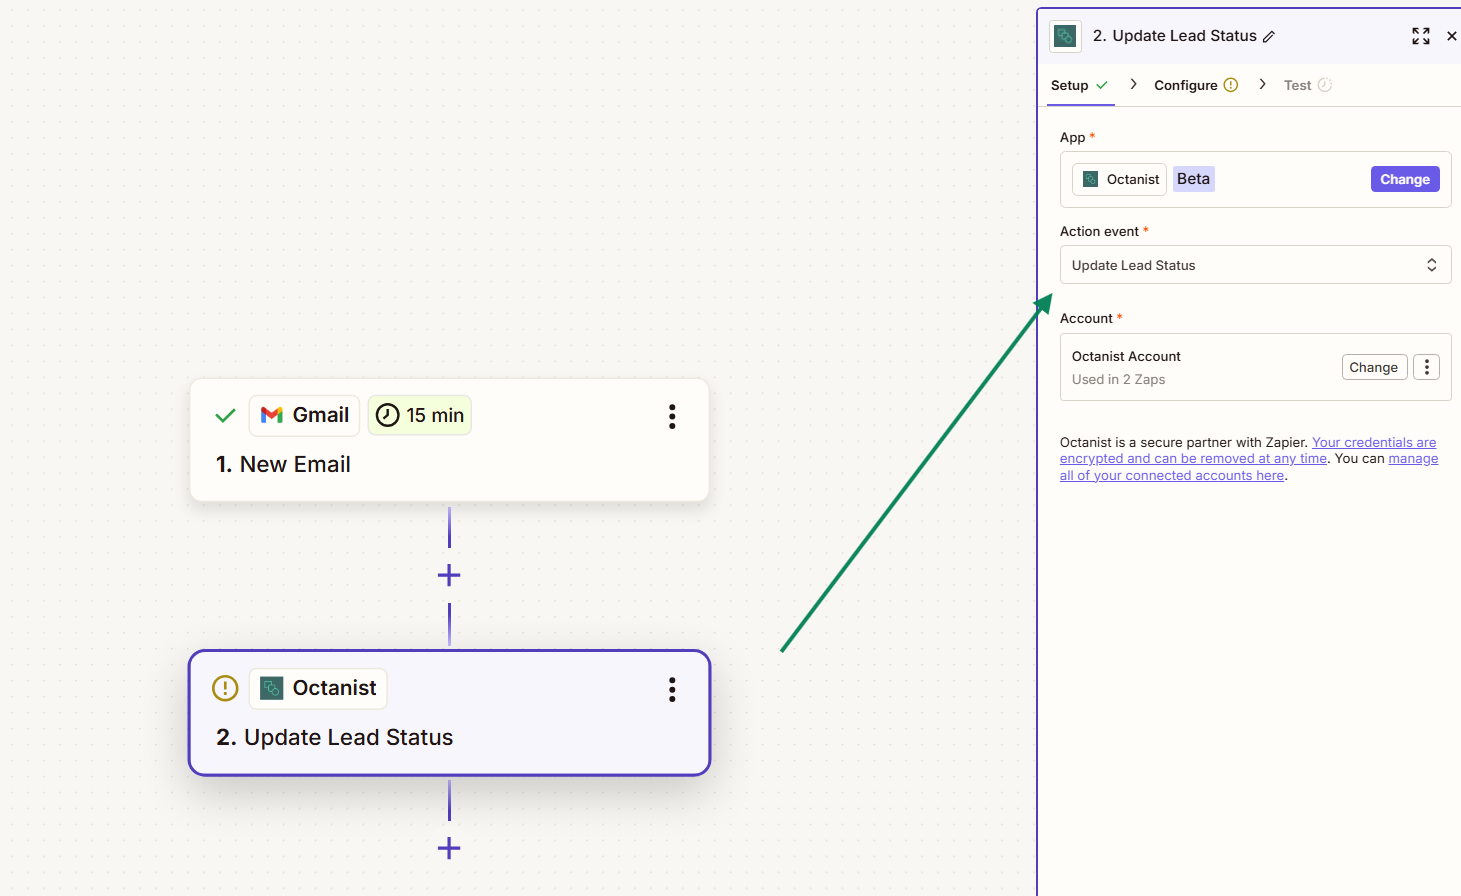
Update Leads in Octanist
To update lead statuses:- Create a new Zap or duplicate your existing one.
-
Choose Update Lead Status instead of Create Lead.
-
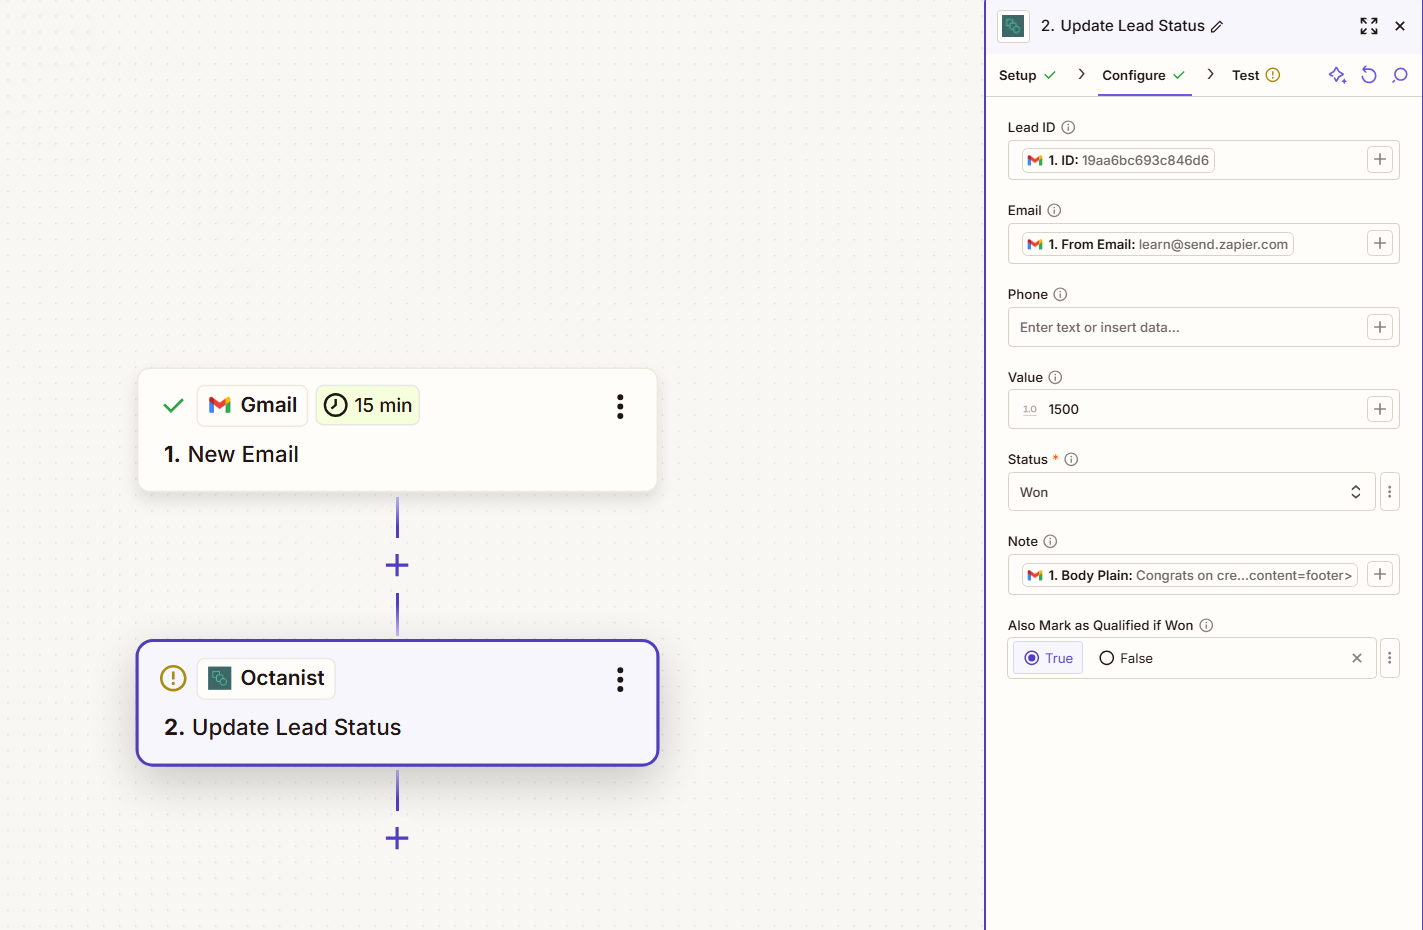
Remember:
A lead must already exist in Octanist before it can be updated.
-
In the Configure tab, map the email field and any other values from your trigger.
Triggering Actions for Won Leads
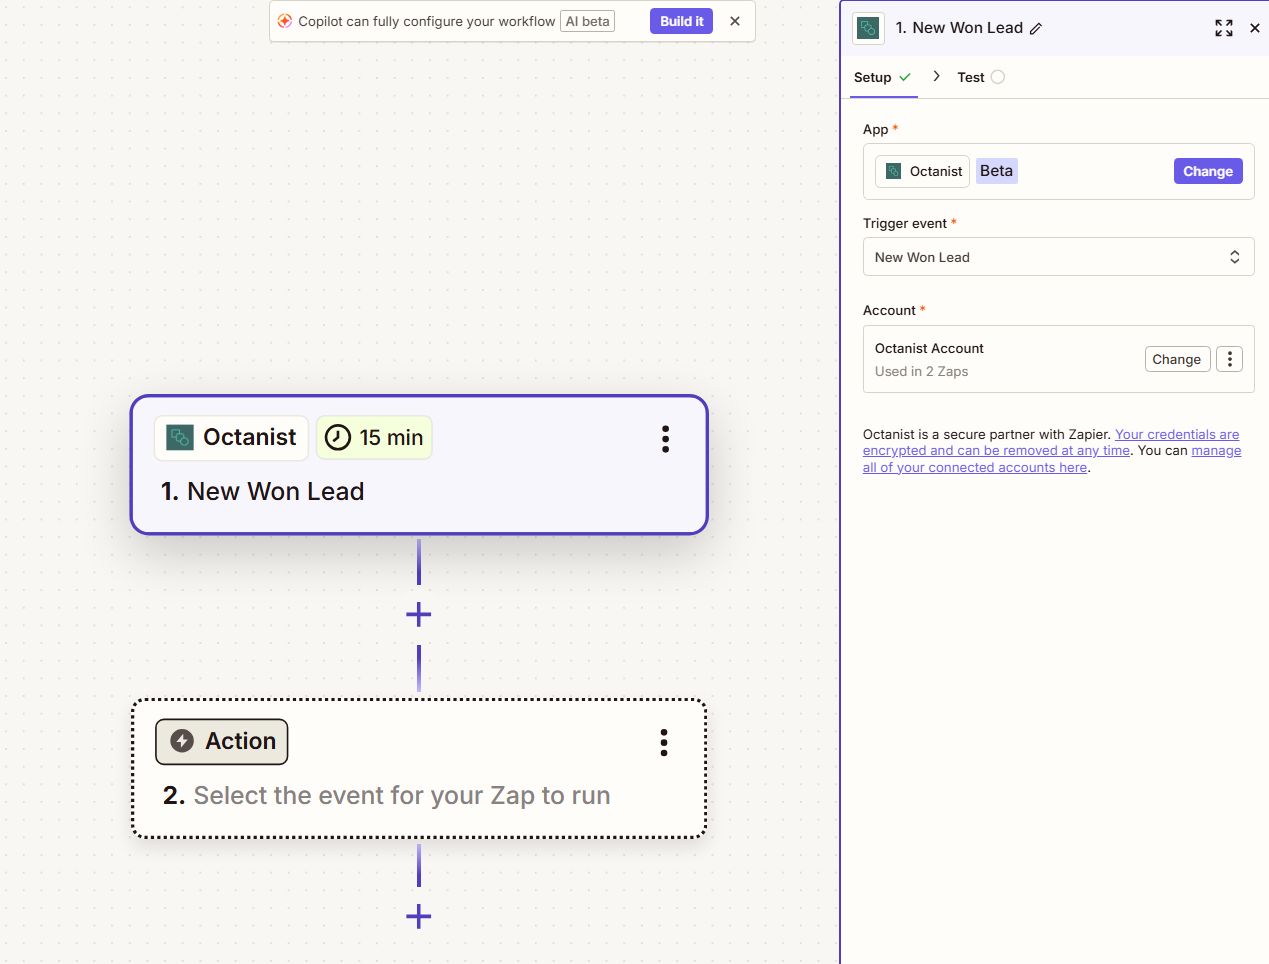
Octanist can also send won leads to Zapier.- Create a new Zap.
-
Select Octanist as the trigger.
-
Choose New Won Lead.
-
Add your preferred follow-up action, for example, sending an email notification.

Conclusion
Zapier enables you to build your own flexible lead workflows with Octanist.You can send leads to Octanist, qualify them inside or outside Octanist, and trigger follow-up actions when leads change status. Octanist ensures your data is captured correctly, enriched, and translated into the right format for your marketing channels.