Table of Contents
Setup Video
Need help setting up Offline Conversion Tracking with Octanist?Watch the video below, it explains all the steps in detail:
1. Octanist
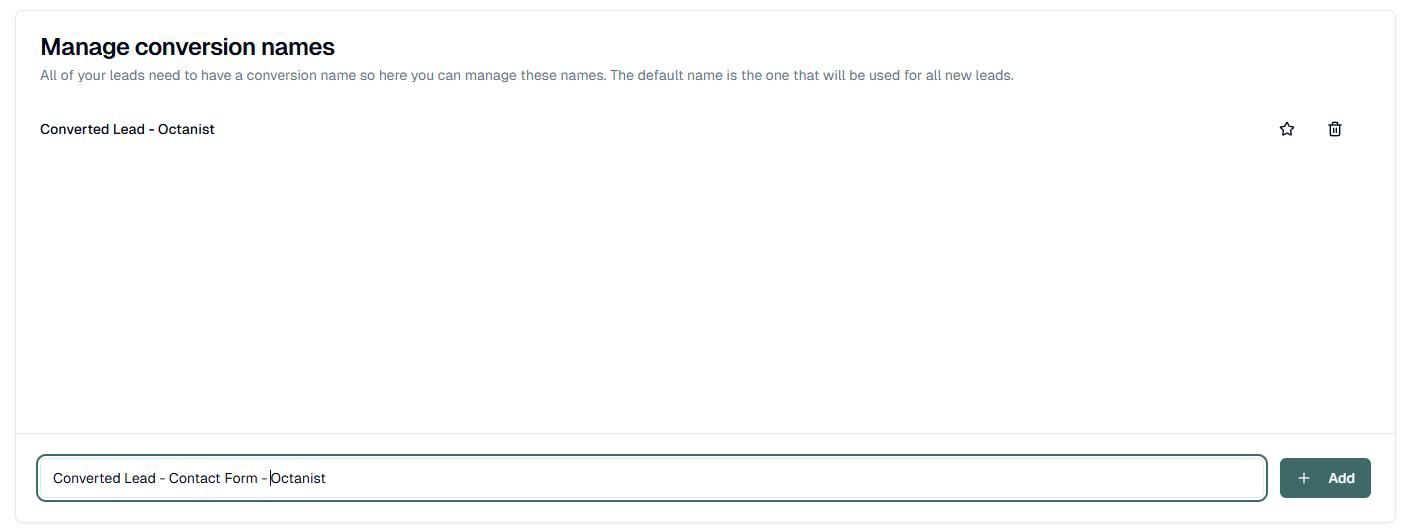
- Go to octanist.com and navigate to General > Manage Conversion Names.
- Under Manage Conversion Names, add clear and concise conversion names. For example: Converted Lead - Octanist
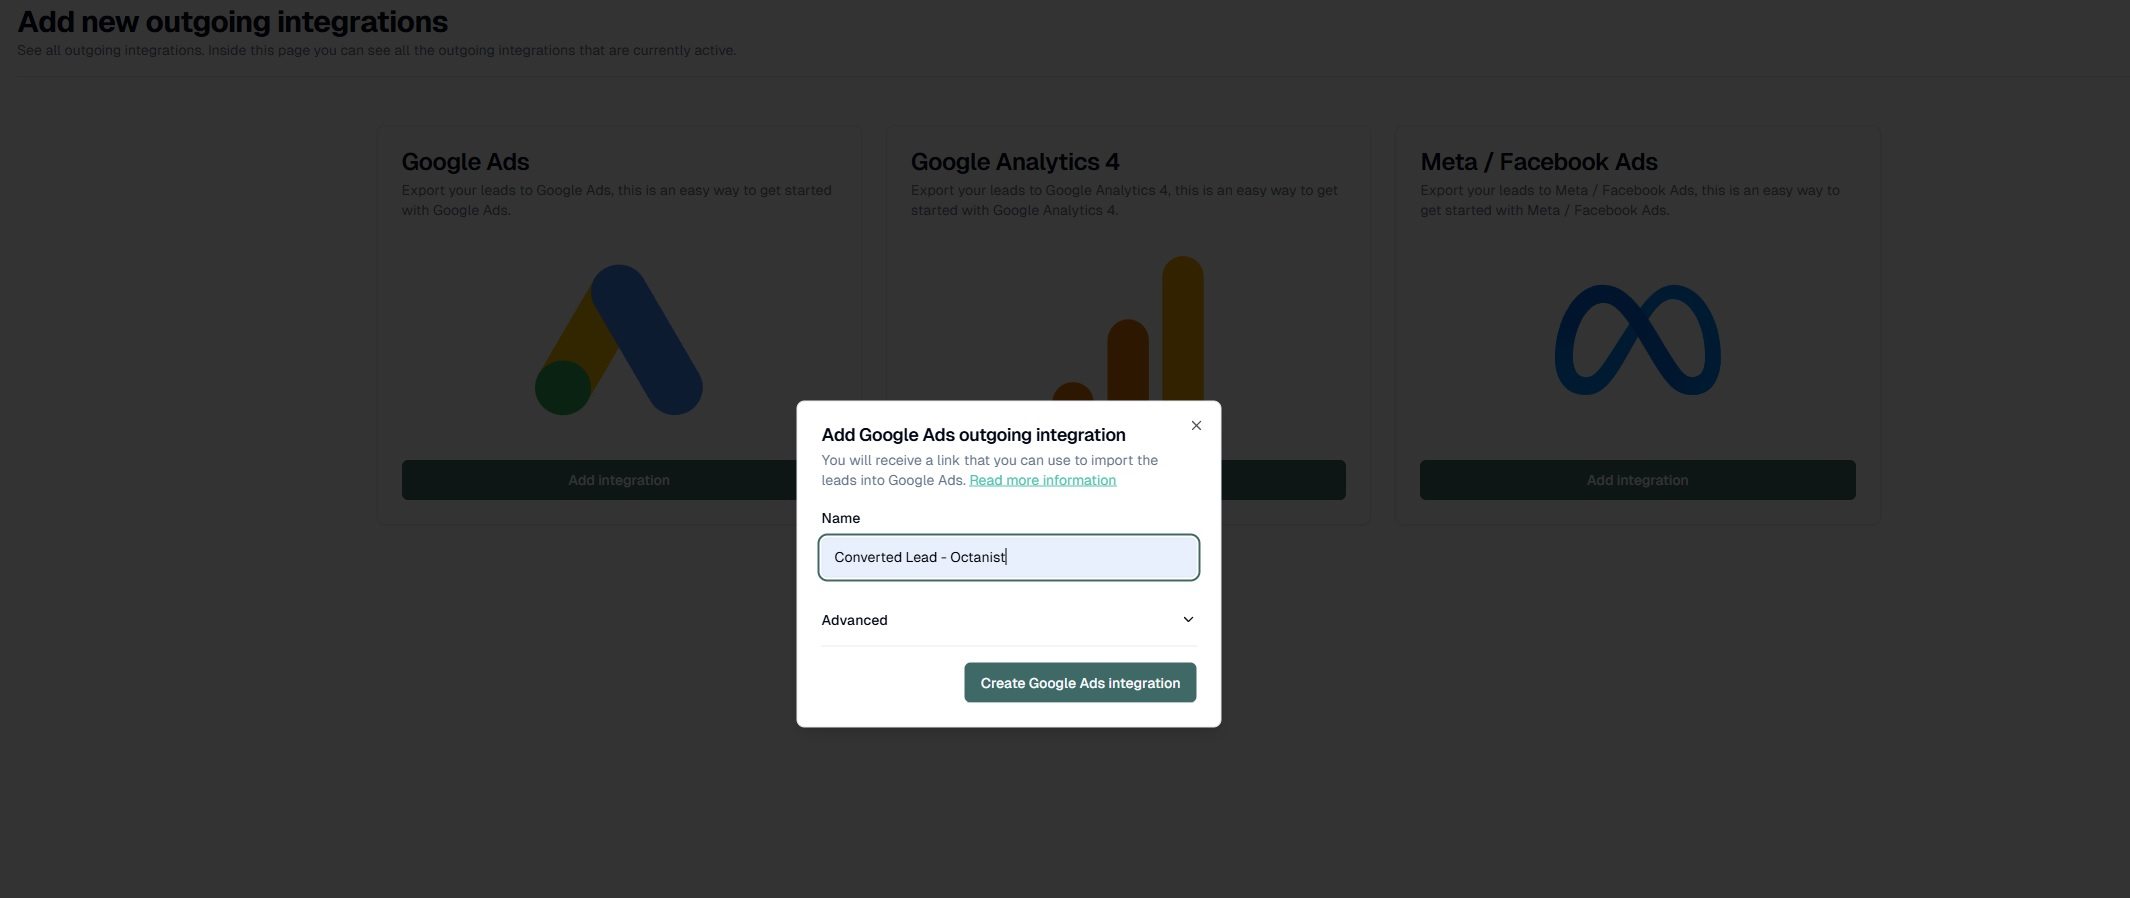
- Go to octanist.com and navigate to Integrations > Outgoing.
- Select Google Ads.
- Give the integration a clear and concise name, such as: Company Name - Octanist - Google Ads Integration.
Goals > Settings > Enhanced Conversions for Leads > Managed through Google Tag Manager.
- Octanist will generate a unique link. Save this link carefully, as you will only receive it once.
The link will look like this:
https://api.octanist.com/integrations/outgoing/googleads/{{Octanist ID}}/?apikey=oct_{{Unique Key}}
2. Google Ads
- Go to Google Ads.
- Navigate to your account and go to Goals > Summary.
-
Create a new conversion action, select Conversions - Offline, and press Continue.
We will add a data source later. (click “Add data sourse” and select Later)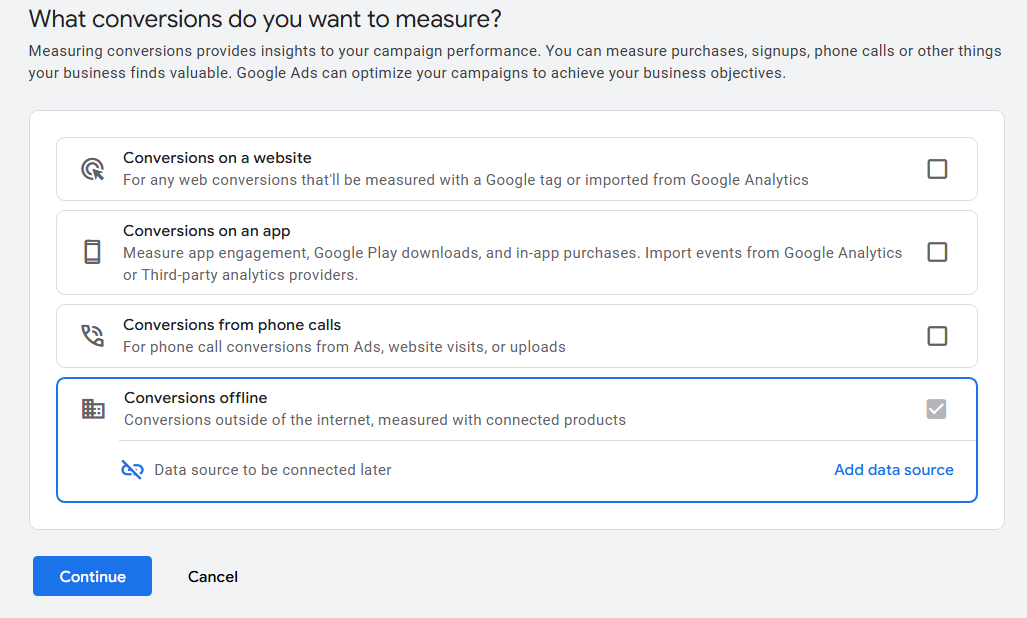
-
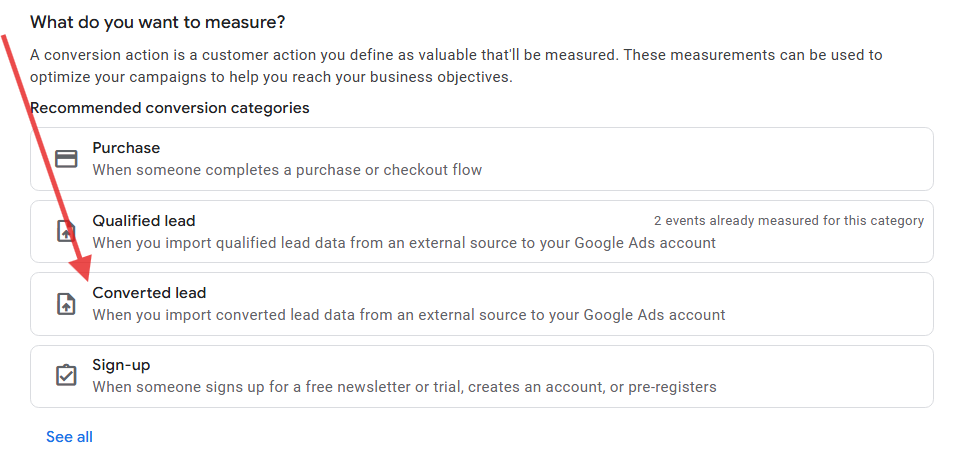
Create a Converted Lead conversion. If you cannot find Converted lead, click on “See all”.
- Add a new conversion action.
-
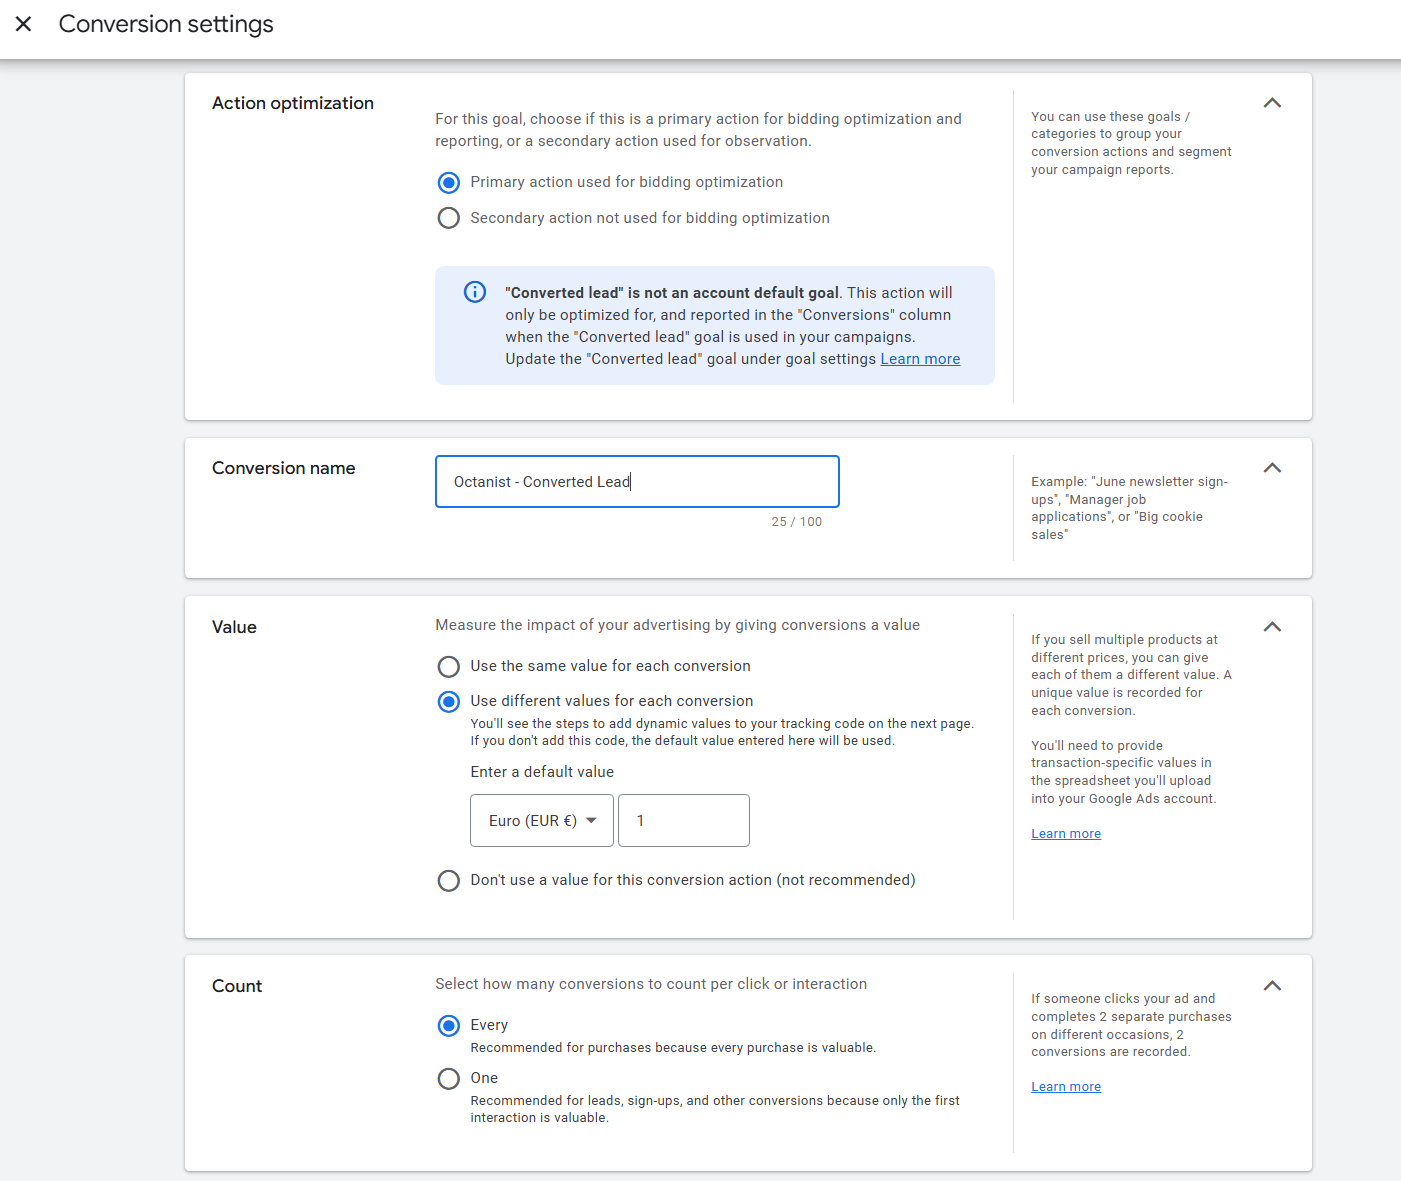
Click on Settings of the new conversion action:
- Set it as a Primary or Secondary conversion depending on your preferences (this can be changed later).
- Give it a concise name, e.g., Converted Lead - Octanist
- The other settings can be left as is.
-
Once done, save your settings and continue the setup until you reach the final confirmation screen, as shown below.
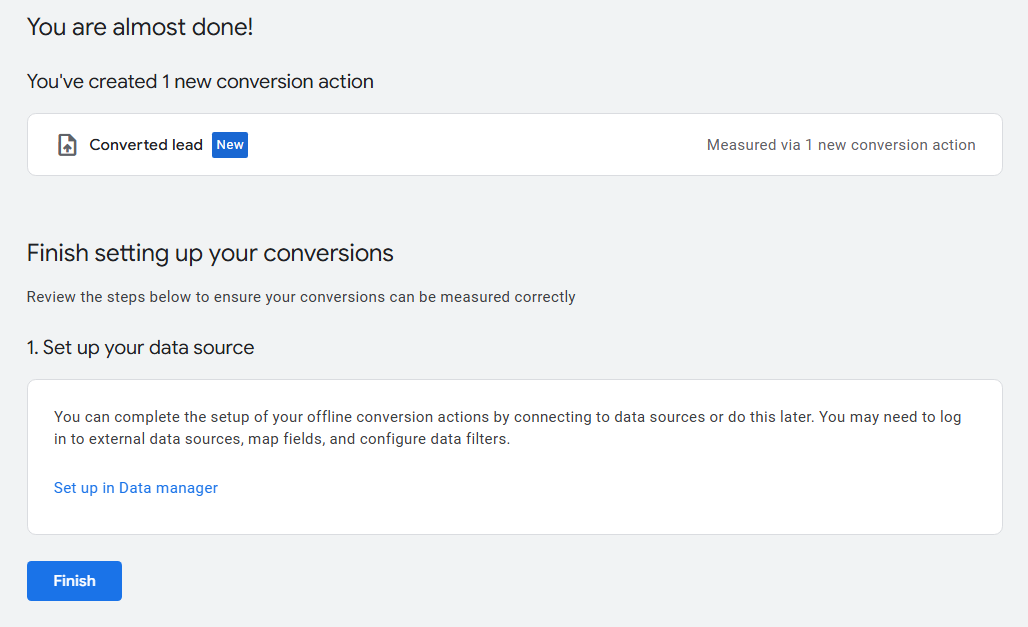
- Click Finish. In the next steps, we’ll configure the Data Source (Uploads) that sends your conversions from Octanist to Google Ads.
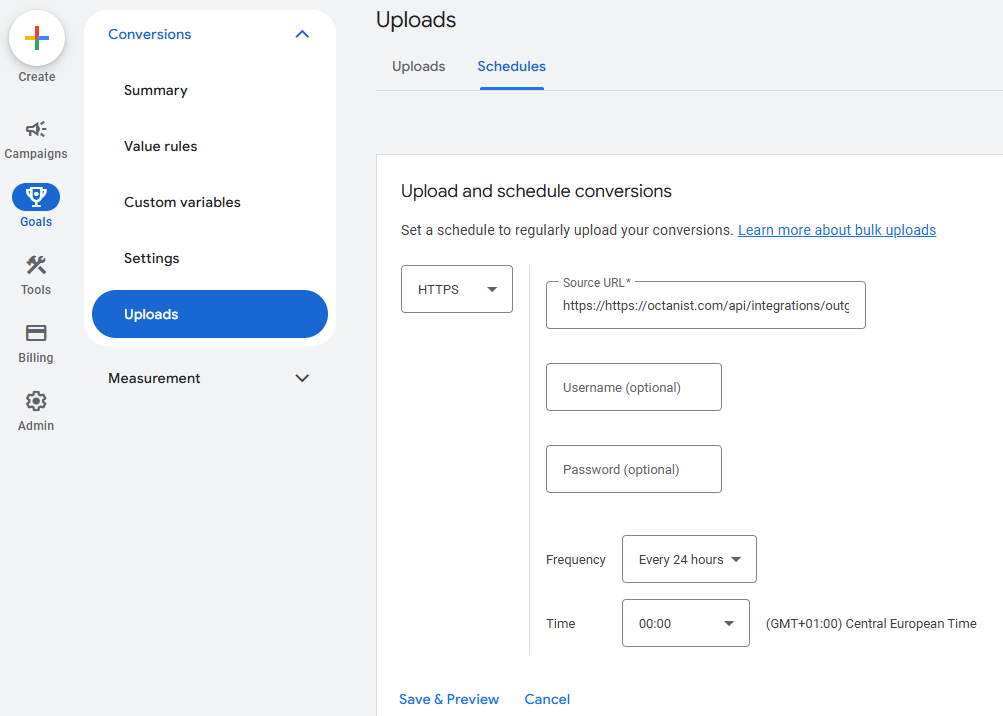
Configuring Uploads
- Go back to Goals > Uploads.
- Open the Schedules tab and add a new schedule:
- Choose HTTPS as the source.
- Enter the link provided by Octanist in the Source URL field.
- Set Frequency to Every 24 hours.
(Daily synchronization is not always necessary, unless leads convert within 24 hours.) - Choose a preferred time, e.g., 0:00.
- Save the schedule.